
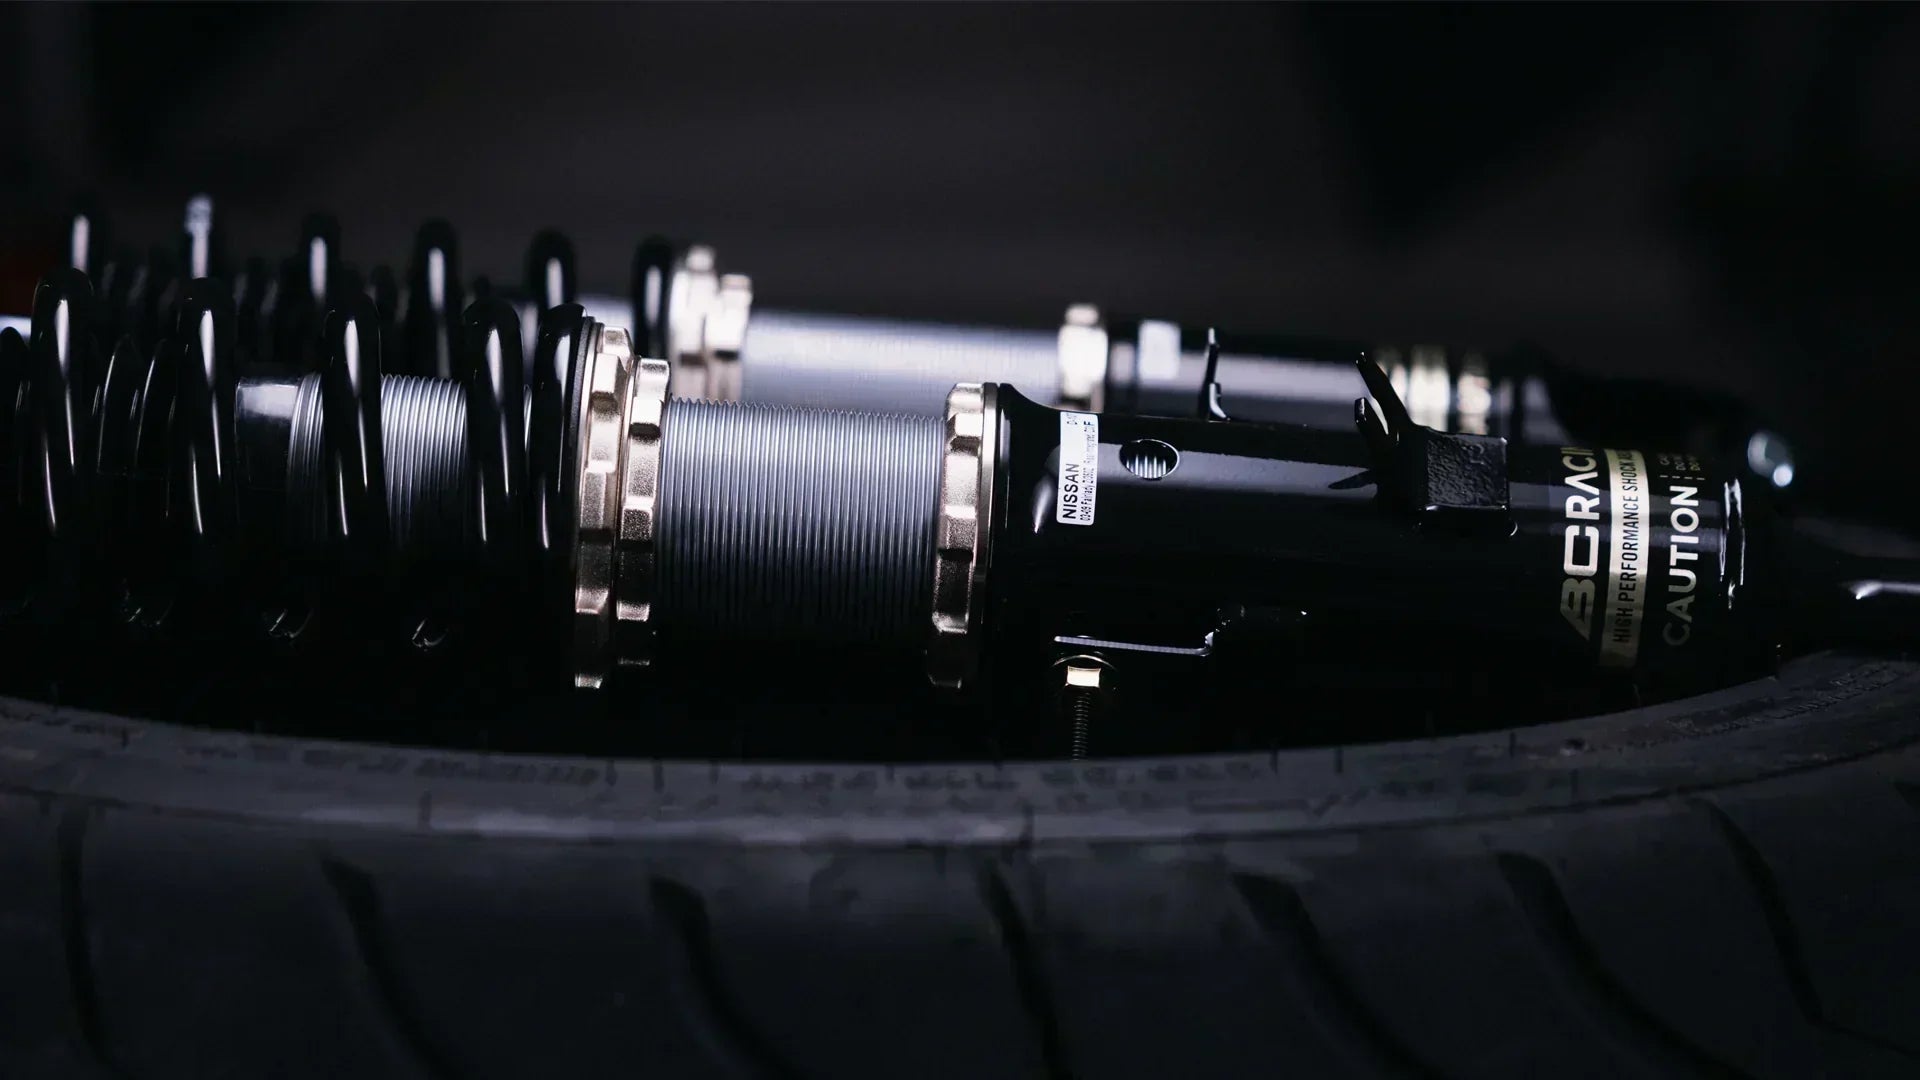
Installing coilovers is one of the most impactful suspension upgrades you can make — adjustable ride height, improved handling, and a stance that factory suspension simply can't match. With the right tools and a methodical approach, most DIYers can complete the job in 4–6 hours. New to this? Get the basics of coilovers before you begin.
In this guide
- What you need: tools & parts
- Measure your ride height first
- Prepare the coilovers
- Remove the old suspension — front
- Install the front coilovers
- Install the rear coilovers
- Reinstall wheels & lower the vehicle
- Settle the suspension & re-torque
- Get an alignment
- Dial in ride height & damping
- FAQ
What You Need Before You Start
A clean, level workspace and the right tools will save you hours of frustration. Gather these before you begin:
Tools
Parts to consider replacing while you're in there
Since the suspension is fully apart, it's a smart time to refresh worn strut bearings, bushings, ball joints, and sway bar end links — especially on higher mileage vehicles. You'll need an alignment regardless, so the extra labour cost is minimal.
1 Measure Your Current Ride Height
Before unbolting anything, record your baseline. Measure from the centre of each wheel to the bottom of the fender arch on all four corners — on level ground. Also note the front-to-rear rake (10–25mm is factory normal). These numbers let you dial in height intentionally rather than guessing.
2 Prepare the Coilovers
Unbox everything and verify all hardware against the parts list. Not sure what each part does? See the main coilover components explained. Before anything goes near the car:
- Set the ride height collar to mid-range — you'll fine-tune after install
- Apply anti-seize to all adjustment threads now, while it's easy
- If springs are shipped separately, install them now (softer/shorter spring goes on top for dual-rate setups)
- Watch any manufacturer video specific to your vehicle — they often cover vehicle-specific quirks
3 Remove the Old Suspension — Front
Spray all fasteners with penetrating lubricant and let it soak 10–15 minutes before breaking anything loose. This small step can save hours on seized hardware.
- Lift and support the vehicle securely on jack stands. Remove the front wheels.
- Support the lower control arm with your floor jack.
- Disconnect the sway bar end link from the strut.
- Remove brake line brackets from the strut housing — don't stress the lines.
- Unplug any ABS sensor wiring from the strut.
- Remove the lower strut mounting bolts.
- Move to the engine bay and remove the top mount nuts (typically 3 under the strut tower).
- Carefully extract the entire strut assembly from the wheel well.
4 Install the Front Coilovers
Feed the new coilover up through the wheel well, top mount first.
- Hand-thread the top mount nuts — don't fully tighten yet, you need movement to align the bottom.
- Align the lower mounting holes and install those bolts hand-tight.
- Reconnect the sway bar end link, ABS wiring, and brake line brackets.
- If the kit includes adjustable camber plates, install and set them now.
5 Install the Rear Coilovers
Rear installation varies by vehicle but the process mirrors the front:
- Remove the rear wheels and support the rear suspension with your jack.
- On many cars, pull back the trunk carpet to access upper rear mounts — check your vehicle's layout first.
- Disconnect the rear sway bar end links.
- Remove the upper mount hardware, then the lower mounting bolt at the knuckle or control arm.
- Extract the old rear strut assembly.
- Position the new coilover, hand-thread the upper mounts first, then align the lower mount. You may need to slightly compress the suspension to line up the holes.
- Install all hardware hand-tight, then torque to spec at ride height — same as the fronts.
6 Reinstall Wheels & Lower the Vehicle
Reinstall all four wheels with lug nuts hand-tightened in a star pattern. Carefully lower the car to the ground and torque lug nuts to your vehicle's spec.
Do a quick visual check: confirm no brake lines are rubbing the coilover body, no ABS wires are pinched, and the tyre isn't contacting the housing anywhere in the suspension's travel range.
7 Settle the Suspension & Re-Torque
Bounce each corner of the car firmly several times to let the suspension settle into its natural position. Then go back and re-torque every suspension fastener you touched.
Suspension fasteners commonly loosen slightly after their first few cycles of movement. Re-torquing after settling ensures nothing backs off on the road.
8 Get a Professional Alignment — No Exceptions
A wheel alignment is mandatory after any coilover installation. Changing ride height alters camber, caster, and toe — all of which directly affect tyre wear and handling. That is why you should get an alignment after installing. Don't skip it, even if the car feels fine straight away.
9 Dial In Ride Height & Damping
Once they're bolted in, our guide on how to adjust your coilovers covers ride height, preload, and damping in more depth.
Adjusting ride height
Loosen the locking collar, thread the adjustment collar up to lower the car or down to raise it. Always match both sides of an axle — count turns on one side and replicate exactly on the other. Never adjust preload with the vehicle's weight on the coilovers.
Adjusting damping
Start in the middle of the damping range. Softer settings improve comfort on rough surfaces; stiffer settings sharpen body control on smooth roads and at the track. Make small changes and test drive between each adjustment.
How low is too low?
Aim to keep at least 20–40mm of compression travel at your chosen ride height. Going too aggressive can cause the front wishbone to angle upward at the outer end — harmful to handling geometry — and puts unnecessary stress on driveshafts.
Still choosing a kit? Shop coilovers for your car.
Frequently Asked Questions
Ready to upgrade your suspension?
Shop coilovers from the top brands — all with free shipping on orders over $250.
Shop Coilovers →
Share:
BC Racing Launches the ASP Series: Adjustable Spring Perch That Retains OEM Electronic Damping
What Are Lowering Springs? Everything You Need to Know Before You Buy